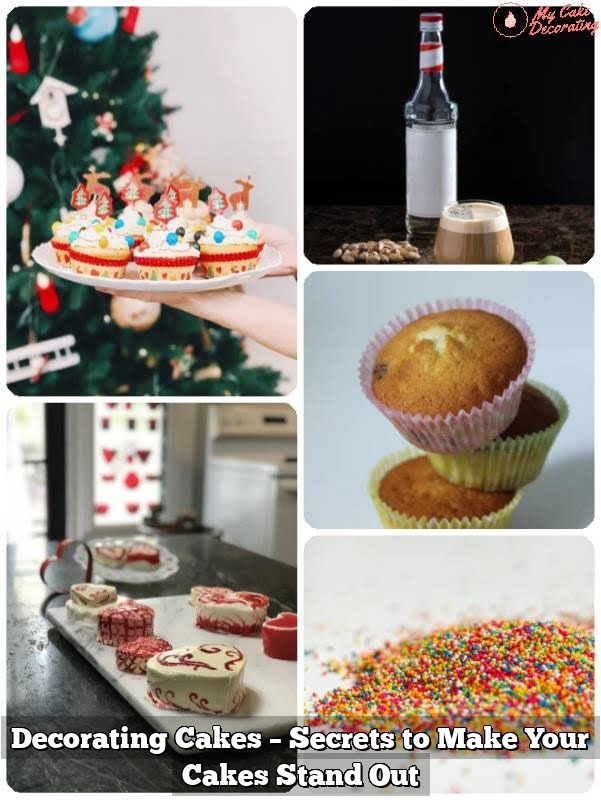
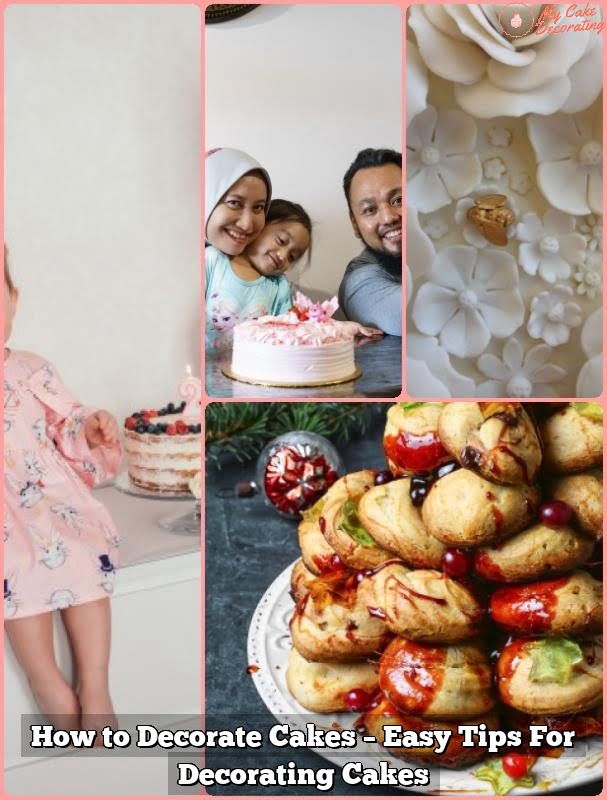
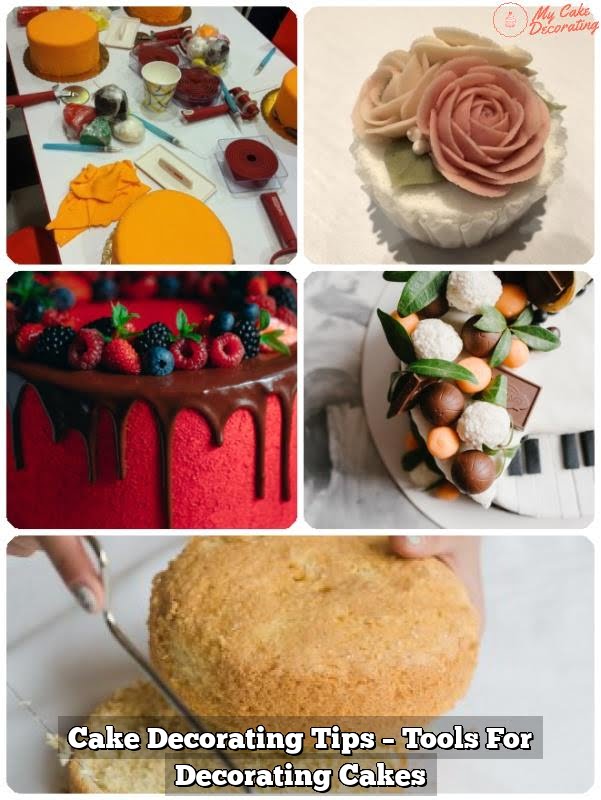
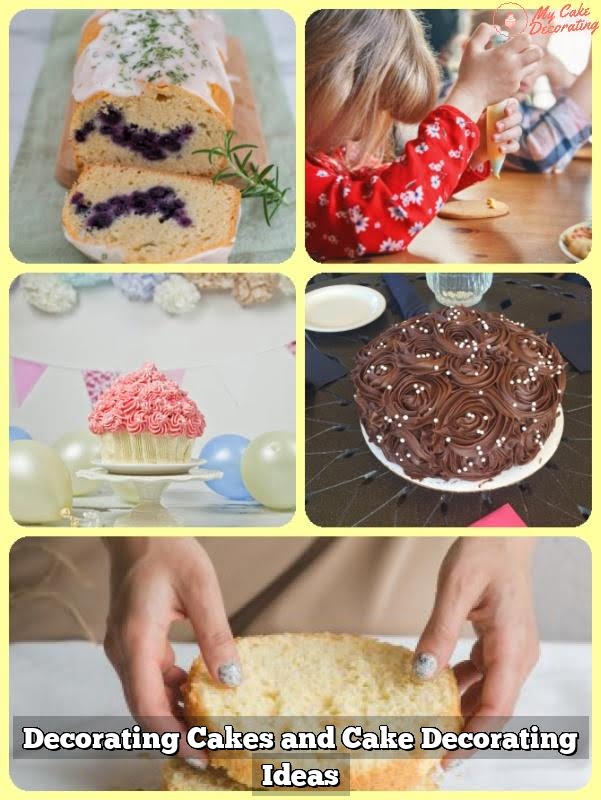
Welcome to the exciting world of cake decoration. Decorating cakes is not only a delicious way to express creativity, but it also plays a vital role in the overall presentation and enjoyment of a cake. Whether you’re a beginner looking to improve your skills or simply have a passion for all things sweet, this guide will provide you with the essential knowledge and techniques to create beautifully decorated cakes.
Cake decoration is more than just frosting on top – it’s an art form that brings joy to both the creator and those lucky enough to indulge in a slice. The intricate piping designs, smooth icing surfaces, and carefully crafted fondant details can elevate any ordinary cake into a masterpiece. It’s no wonder that cake decorating has become a popular hobby for many, as it allows individuals to showcase their creativity and bring delight to special occasions.
This article is specifically designed with beginners in mind. Whether you have never picked up a piping bag before or are familiar with basic techniques but want to enhance your skills further, this guide will provide you with insights, tips, and step-by-step instructions for achieving stunning cake decorations. So let’s dive in and discover the wonderful world of cake decoration together.
The Essential Tools for Cake Decorating
When it comes to decorating cakes, having the right tools is essential. These tools not only make the process easier but also allow you to create beautiful and professional-looking designs. Whether you are a beginner or looking to upgrade your cake decorating skills, here are some must-have tools for cake decoration.
- Piping Bags: A piping bag is a cylindrical bag made of cloth, synthetic fabric, or disposable plastic that is used to pipe icing onto cakes. It allows for precise control when creating designs such as flowers, borders, or writing. There are different sizes and types of piping bags available, including reusable and disposable options.
- Spatulas: Spatulas are versatile tools used for spreading and smoothing icing on cakes. Offset spatulas with thin blades are perfect for applying buttercream or ganache on large surfaces, while straight spatulas work well for detail work and achieving sharp edges. It’s recommended to have at least two sizes of spatulas in your toolkit.
- Fondant Roller: If you plan on working with fondant, a fondant roller is a must-have tool. This rolling pin has a smooth surface and large diameter that helps to roll out the fondant evenly and prevent sticking. It ensures that your fondant covers cakes smoothly without any wrinkles or creases.
- Decorating Tips: Decorating tips come in various shapes and sizes and are used with piping bags to create different textures and designs. For beginners, starting with a basic set of tips such as round tips for writing or making dots, star tips for creating rosettes or stars, and petal tips for making flowers can be ideal.
When purchasing cake decorating tools, it’s important to invest in quality products that will last long and provide optimal results. Local baking supply stores often carry a wide variety of decorating tools. Online retailers like Amazon also offer an extensive selection of cake decorating supplies from trusted brands. Remember that with practice and the right tools, you can elevate your cake decorating skills to new heights.
Understanding the Different Types of Icing
When it comes to cake decorating, choosing the right type of icing is essential for achieving the desired look and taste of your creation. There are various options available, each with its own unique properties and techniques. Understanding the different types of icing will help beginners make informed decisions and elevate their cake designs.
- Buttercream: Buttercream is a popular choice for cake decoration due to its creamy texture and versatility. Made from butter, powdered sugar, and flavorings, buttercream can be easily tinted with food coloring for vibrant designs. It is great for piping intricate details and creating smooth finishes. However, it is important to note that buttercream requires refrigeration as it can melt at room temperature.
- Royal Icing: Royal icing is a hard-drying icing made from powdered sugar and egg whites or meringue powder. It is commonly used for intricate piped designs, such as borders or lacework, as it sets firmly when dry. Royal icing has a smooth finish and can be colored with gel colors or thinned down for flooding techniques. It is important to work quickly with royal icing as it tends to dry out fast.
- Fondant: Fondant is a soft sugar paste that can be rolled into thin sheets and draped over cakes for a flawless finish. It provides a smooth canvas for decorative elements such as ruffles, bows, or sculpted figures. Fondant creates a clean aesthetic and allows for precise detailing. However, some find the taste of fondant less enjoyable compared to other icings.
By understanding the pros and cons of each type of icing, beginners can choose the appropriate icing based on their design goals and personal preferences. Experimenting with different types of icing will also provide valuable learning experiences in cake decoration.
If you’re looking to try out these different icings, you can find them at specialty baking stores or online retailers that offer cake decorating supplies. It’s important to invest in quality products to ensure the best results in your cake decorating journey.
Step-by-Step Cake Decorating Techniques
Piping
One of the most fundamental cake decorating techniques is piping. Piping involves using a piping bag and various tips to create decorative designs on the surface of a cake. Beginners can start with simple designs such as dots, flowers, or borders, and gradually progress to more intricate patterns and shapes.
To begin piping, fill a piping bag with your desired icing and attach a piping tip of your choice. Hold the bag at a 45-degree angle above the cake surface and apply even pressure while gently squeezing the icing out of the bag. Practice your piping technique on a flat surface first before moving onto the cake.
Smoothing
Achieving smooth icing surfaces is another crucial technique in cake decoration. A smooth finish provides an elegant look to any cake design. To achieve this, start by applying a crumb coat-a thin layer of icing-to seal in any loose crumbs. Once the crumb coat has set, use an offset spatula or bench scraper to spread a thick layer of icing evenly over the entire cake.
To achieve an ultra-smooth finish, dip your spatula or scraper in hot water and wipe off any excess before smoothing out the icing. This helps to melt away any imperfections and achieve a flawless surface.
Creating Texture
Adding texture to your cake design can elevate its overall aesthetic appeal. There are numerous ways to create texture on cakes, such as using stencils, textured rolling pins, or specialized tools like combs or impression mats.
For example, you can use stencil patterns to create intricate lace designs by placing the stencil against the cake surface and gently dusting powdered sugar or cocoa powder over it using a fine-mesh sieve.
Another method is using textured rolling pins that have raised patterns on their surface. Roll these pins over fondant-covered cakes to create unique textures like woven baskets or quilted patterns.
By incorporating different textures into your cake designs, you can add depth and visual interest to your creations.
Remember, practice makes perfect when it comes to cake decorating techniques. Start with simple designs and gradually work your way up to more advanced techniques as you gain confidence and experience. Don’t be afraid to experiment and let your creativity shine through.
Tips and Tricks for Perfecting Cake Decorations
Achieving Smooth Icing Surfaces
One of the keys to perfecting cake decorations is achieving smooth icing surfaces. This not only enhances the overall appearance of the cake but also provides a flawless canvas for further decorating techniques. To achieve a smooth finish, it is crucial to start with a properly crumb-coated cake.
A crumb coat is a thin layer of icing that helps seal in any loose crumbs before applying the final layer. Use a straight spatula or offset spatula to apply the crumb coat, making sure to cover the entire surface evenly.
After the crumb coat has set, it’s time to apply the final layer of icing. To achieve a smooth surface, use an offset spatula and hold it parallel to the cake while gently spreading and smoothing out the icing in long, even strokes. It’s important to work quickly but gently as too much pressure can cause unevenness or air bubbles in the icing.
For an extra smooth finish, you can use a bench scraper or cake smoother tool. Hold it against the sides of the cake while turning it slowly, allowing the excess icing to be scraped off and creating a perfectly smooth surface. Remember to wipe off any excess frosting from the scraper or smoother between each pass.
Creating Straight Edges and Sharp Corners
Creating straight edges and sharp corners on your decorated cakes gives them a polished and professional look. One key tip is to always keep your spatula or knife clean and free from excess frosting as this can cause uneven edges.
To create straight edges on round cakes, hold an offset spatula against the side of the cake at an angle while spinning it slowly on a turntable or cake stand. Apply light pressure evenly around the cake until you have achieved your desired edge thickness.
For square or rectangular cakes, start by applying an extra-thick layer of icing on both top corners with an offset spatula. Once you have evenly spread the icing, hold a bench scraper or ruler against one side of the cake while turning it slowly, scraping off the excess and creating a straight edge. Repeat this process for all sides of the cake.
To achieve sharp corners on square or rectangular cakes, use the edge of a clean ruler or an offset spatula to press gently on each corner. This will define and sharpen the edges.
Adding Texture, Patterns, and Decorative Elements
To take your cake decorations to the next level, incorporating texture, patterns, and decorative elements can add depth and interest to your design.
Texture can be added using various tools such as combs, textured mats, or piping tips with different designs. Experiment with dragging these tools through freshly applied icing to create unique textures like waves or ripples.
Patterns can be achieved through techniques like stenciling or piping intricate designs. Stencils are available in a wide variety of patterns and can be used with powdered sugar or edible spray paint for a quick and easy way to add intricate designs to your cake. Piping is another popular method for creating patterns with buttercream icing. Use different types of piping tips to pipe dots, lines, rosettes, flowers, or any other desired design onto your cake.
Decorative elements such as edible flowers, chocolate shards, sprinkles, or fondant cut-outs can add visual interest and personality to your cake decorations. These elements can be carefully placed on top of the icing or around the sides to complement your overall design.
Remember that practice makes perfect when it comes to decorating cakes. Don’t be afraid to experiment with different techniques and explore your creativity.
Exploring Fondant Decoration
Fondant is a versatile and popular cake decorating material that can add a smooth and polished finish to any cake design. In this section, we will explore the concept of fondant and its usage in cake decoration, providing step-by-step instructions on how to cover a cake with fondant and highlighting advanced fondant techniques such as molding, sculpting, and painting.
Fondant is a type of icing that has a dough-like consistency. It is made from sugar, gelatin, water, and glycerin. Decorating with fondant offers a clean and professional look to cakes, making it perfect for special occasions like weddings or birthdays.
To cover a cake with fondant, start by preparing your cake beforehand. Apply a layer of buttercream or ganache as the base coat to ensure that the fondant adheres well to the surface. Then roll out the fondant using a fondant roller until it reaches the desired thickness. Carefully drape the rolled-out fondant over the cake, smoothing it gently with your hands or a smoother tool to remove any air bubbles or wrinkles.
Once the cake is covered in fondant, you can take your decorating skills to the next level by using advanced techniques. Fondant can be molded into various shapes and figures using silicone molds or by hand sculpting. You can create beautiful flowers, intricate lace patterns, or even 3D figurines with fondant. Additionally, edible food coloring can be used to paint on top of the fondant for more detailed designs.
With proper practice and experimentation, you can turn simple cakes into works of art using fondant decoration. The possibilities are endless when it comes to creating unique and personalized designs for any occasion. So grab some fondant and let your creativity flow.
Fondant Decoration Guide
| Steps | Description |
|---|---|
| 1 | Prepare the cake by applying a base coat of buttercream or ganache. |
| 2 | Roll out the fondant using a fondant roller until it reaches the desired thickness. |
| 3 | Drape the rolled-out fondant over the cake and gently smooth it with your hands or a smoother tool. |
| 4 | To create more advanced designs, use silicone molds or hand sculpting techniques with fondant. |
| 5 | Consider painting on top of the fondant using edible food coloring for added detail. |
Incorporating Coloring Techniques into Cake Decorating
Cake decoration is not just about the design and techniques used, but also the vibrant and eye-catching colors that bring a cake to life. This section will explore various coloring methods for icing and provide tips on achieving vibrant and harmonious color schemes.
When it comes to coloring icing, gel colors are a popular choice among decorators. Gel colors are highly concentrated and offer a wide range of hues to choose from. They can be easily mixed with icing without altering its consistency, making them ideal for achieving intense shades. Gel colors also have the advantage of being fade-resistant, ensuring that the colors stay true even after the cake has been baked.
For those who prefer natural dyes, there are several options available such as fruit and vegetable extracts, spices, or tea. These natural dyes can create beautiful pastel shades and add unique flavors to your icing. However, it’s important to note that natural dyes may not produce as vibrant colors as artificial ones, so they might be better suited for subtle or earthy-toned designs.
Color theory plays a crucial role in cake decorating as it helps decorators understand how different colors interact with each other. Understanding color theory allows decorators to create visually appealing cakes by combining complementary or analogous colors. For example, pairing blue with orange or green with yellow can create an eye-catching contrast that draws attention to certain elements of the cake design.
Achieving a smooth and uniform color across the entire cake requires careful mixing and blending of colors. It is recommended to start with small amounts of color and gradually add more until the desired shade is achieved. To ensure even distribution of color, mix the icing using a spatula or electric mixer at low speed.
By incorporating these coloring techniques into their cake decorating repertoire, beginners can elevate their designs to new levels of creativity and visual appeal. Experimenting with different coloring methods and understanding color theory will help decorators achieve stunning cakes that are not only delicious but also visually captivating.
| Incorporating Coloring Techniques into Cake Decorating |
|---|
| – Explore various coloring methods for icing (e.g. gel colors, natural dyes) |
| – Discuss color theory and how it enhances cake designs |
| – Share tips for achieving vibrant and harmonious color schemes |
Troubleshooting Common Cake Decorating Challenges
Decorating cakes can be a fun and rewarding experience, but it’s not without its challenges. As a beginner, it’s important to be prepared for some common cake decorating mishaps and learn how to troubleshoot them. In this section, we will address a few of the most common cake decorating challenges and provide practical solutions.
- Air Bubbles: One of the most frustrating issues when decorating cakes is encountering air bubbles in the icing or fondant. To avoid this problem, ensure that your icing is at the right consistency and free from lumps.
When covering a cake with fondant, make sure to smooth out any air pockets as you go along. If you do end up with air bubbles, you can use a pin or toothpick to gently release the trapped air and then smooth out the area. - Uneven Icing: Achieving a smooth and even surface on your cake can be tricky, especially if you’re just starting out. To avoid this issue, make sure to crumb coat your cake before applying the final layer of icing.
This involves applying a thin layer of icing to seal in any cake crumbs and create a smooth base. Use an offset spatula to spread the icing evenly across the cake’s surface, working from the center outward. - Cracked Fondant: Fondant can be a great way to achieve clean lines and create intricate designs on cakes. However, it can also crack if not handled properly.
To prevent cracking, ensure that your fondant is rolled out to an even thickness and cover your cake smoothly without stretching it too much. If cracks do appear, you can gently rub them with some shortening or water and use a fondant smoother or your fingers to blend them away.
By being aware of these common challenges in cake decorating and knowing how to overcome them, you’ll be better equipped to tackle any issues that may arise during your cake decoration journey.
Tips and Advice for Transportation, Storage, and Preservation of Decorated Cakes
Once you’ve spent time and effort decorating a cake, it’s important to ensure that it reaches its destination intact and stays fresh for as long as possible. Here are some tips and advice for transporting, storing, and preserving your decorated cakes:
- Transportation: When transporting a decorated cake, it’s crucial to keep it stable and secure. Place the cake on a level surface in your vehicle, using non-slip mats or towels underneath to prevent sliding. If possible, place the cake box on a nonslip mat in the trunk or passenger seat floor for added stability. Avoid sudden stops or sharp turns during transport to minimize any potential damage.
- Storage: If you need to store a decorated cake prior to an event or celebration, it’s important to protect the icing or fondant from any moisture. Place the cake in a cardboard box with high sides to prevent dust or debris from touching the decoration. Avoid storing cakes in the refrigerator unless absolutely necessary, as refrigeration can cause condensation that may affect the appearance of the decoration.
- Preservation: To keep your decorated cake fresh for longer periods, consider using a cake storage container specifically designed to protect its shape and freshness. These containers typically have airtight seals that help maintain moisture levels within the cake without compromising its decoration. Alternatively, you can wrap the unfrosted layers tightly in plastic wrap or place them in resealable bags before refrigerating.
By following these transportation, storage, and preservation tips, you can ensure that your beautifully decorated cakes reach their intended destinations unharmed and stay fresh for maximum enjoyment by both you and your guests.
Showcasing Inspirational Cake Decorating Ideas
In conclusion, the world of cake decoration offers endless possibilities for creativity and expression. Throughout this guide, we have explored the essential tools and techniques needed to enhance your cake decorating skills. We have delved into the different types of icing and provided step-by-step instructions on executing various decorations.
To further inspire you on your cake decorating journey, we have showcased a collection of stunning, professionally decorated cakes. These cakes demonstrate a range of styles, themes, and trending techniques that can be adapted to suit your own vision. Whether it’s a whimsical birthday cake or an elegant wedding centerpiece, these ideas will help you unleash your creativity and elevate your cake presentations.
Remember that practice makes perfect when it comes to cake decorating. Don’t be discouraged if your first few attempts don’t turn out exactly as planned. Troubleshooting common challenges is part of the learning process, and with time and experience, you will become more adept at overcoming them.
Above all, embrace the joy that comes from turning a simple dessert into a work of art. There is something truly special about seeing someone’s face light up when they see a beautifully decorated cake. So grab your tools, experiment with different techniques, and enjoy the journey as you become an accomplished cake decorator. Happy creating.
Frequently Asked Questions
What is the easiest way to decorate a cake?
The easiest way to decorate a cake is by using ready-made decorations or cake toppers. These can be easily purchased from baking supply stores or online platforms. These pre-made decorations are often made from edible materials like fondant, gum paste, or chocolate and can instantly transform the look of a cake with minimum effort.
Simply place these decorative elements strategically on the cake’s surface and voila! You have a beautifully decorated cake in no time.
How do you decorate a cake?
Decorating a cake involves several steps that require careful attention to detail. Begin by preparing your cake with a smooth layer of frosting as the base. Then, decide on the design you want to create and gather all the necessary tools such as piping bags, tips, and spatulas.
You can enhance your decorating skills by practicing various techniques like piping borders, creating flower designs, or writing messages on cakes with icing. Experimenting with different colors, textures, and patterns will add visual interest and creativity to your cake decoration.
What are the different tips for a successful cake decoration?
To achieve successful cake decoration, there are several tips that can greatly help beginners or even experienced decorators. Firstly, it’s essential to have a perfectly cooled and leveled cake for ease in stacking layers and applying frosting smoothly. Secondly, using an offset spatula while frosting helps achieve an even spread without disturbing any crumbs on the surface of the cake.
Additionally, selecting the right icing consistency for each specific technique (such as medium consistency for piping details) ensures better control during decoration. Working with chilled or frozen cakes also aids in easier handling during intricate designs or sculpting arrangements. Lastly, practicing patience is crucial; taking your time with each step allows for precision and accuracy resulting in a beautifully decorated final product that will impress everyone who sees it.

Welcome to my blog about home and family. This blog is a place where I will share my thoughts, ideas, and experiences related to these important topics. I am a stay-at-home mom with two young children. I hope you enjoy reading it! and may find some helpful tips and ideas that will make your home and family life even better!


